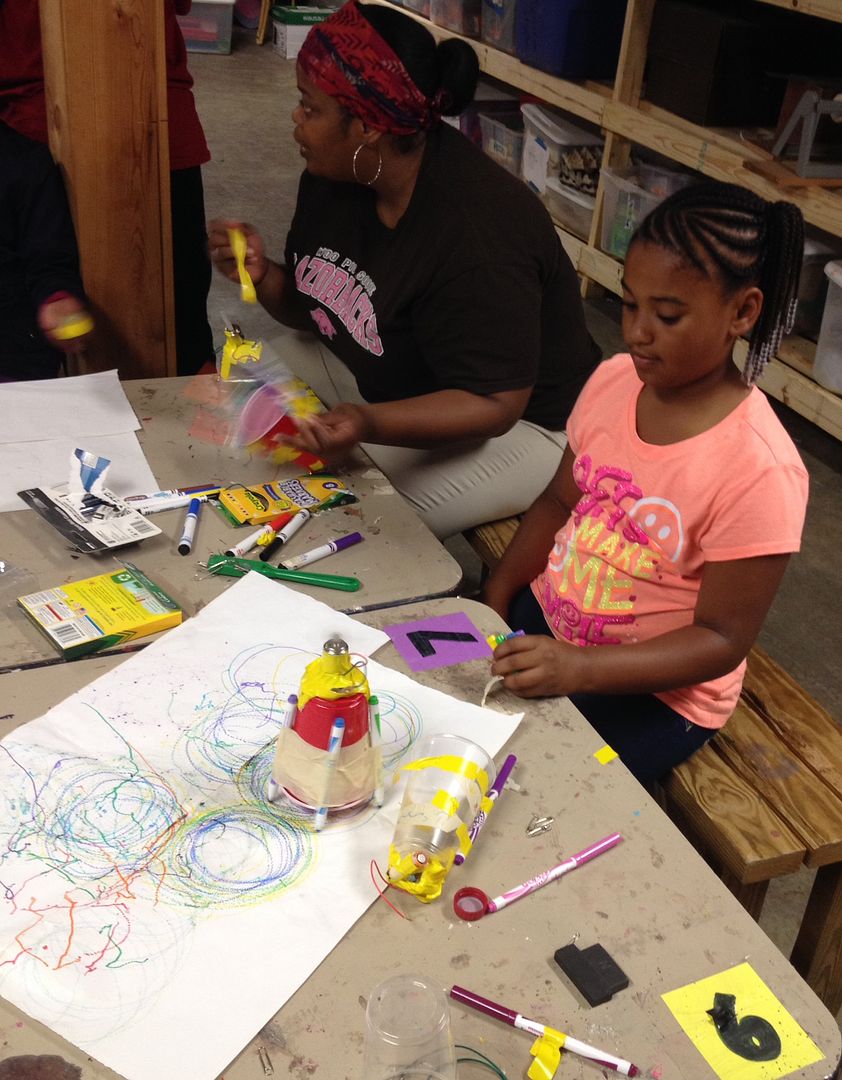
This one is a fun build, and it's so exciting to watch the kids faces when they connect the last wire and make their robot go!
I highly recommend that once you build the robot, roll out some paper on a table, tape it down and just play...Try different sizes of batteries, motors, vary the arrangement of the markers, attach a magnet to your cup and see if you can get your bot to pick up paper clips! There isn't a wrong way to do it, It's important to allow plenty of time after the build to experiment and see what you can make happen.
Supplies needed:
Plastic cups - Solo cups work great
Batteries- you can use AA, AAA, or a nine volt..
Motor ( radio shack- ask for a 1.5 hobby motor like this one: ( http://www.radioshack.com/product/index.jsp?productId=2102828)
small lengths of wire - it's nice to have have two different colors, but not necessary
electrical tape or duct tape
Colored markers
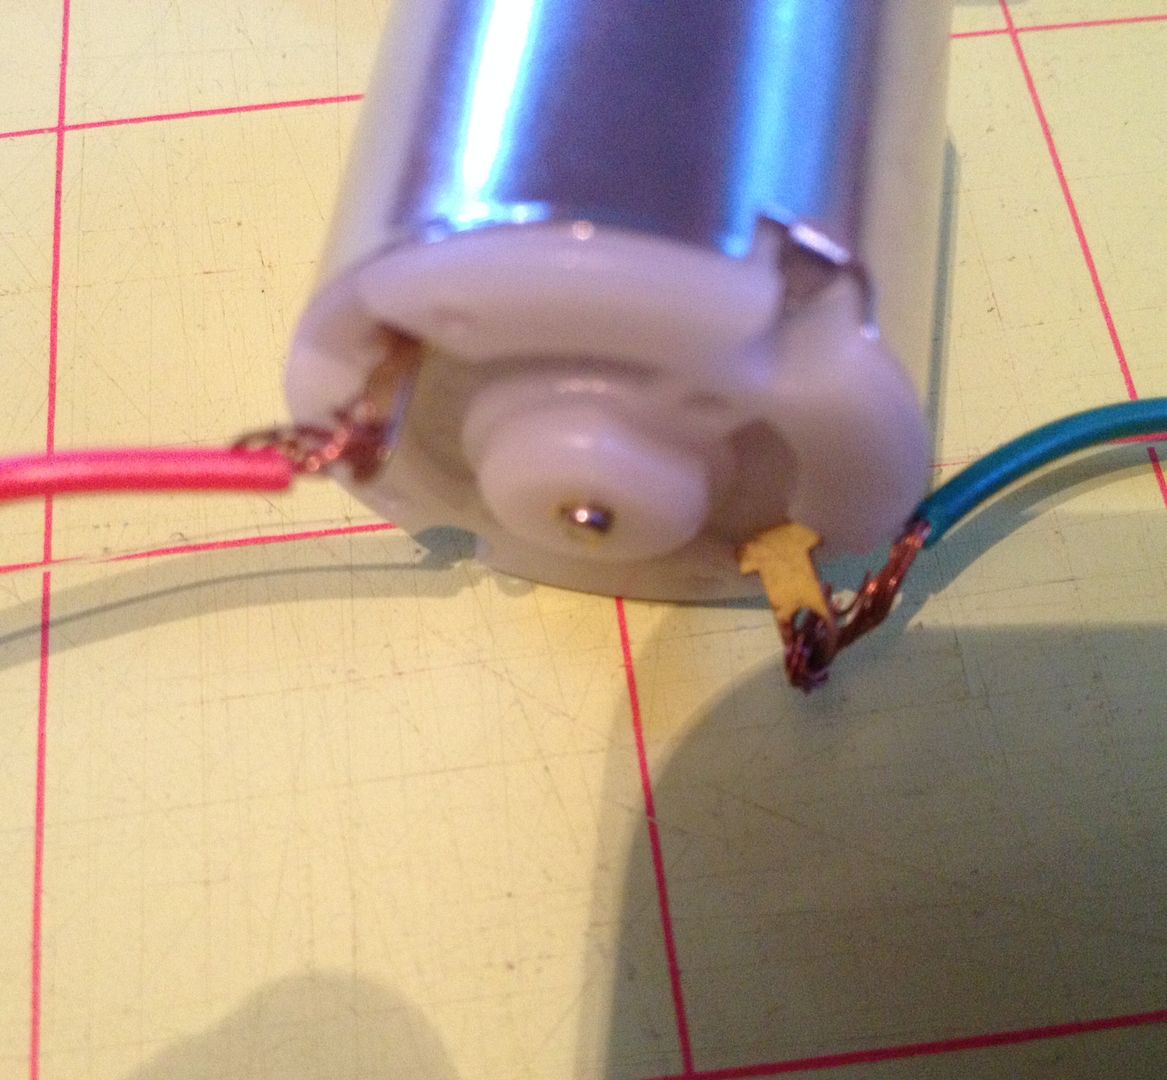
1. Attach a 4" length of wire to your motor. on both contact points, one piece of wire to each contact point.
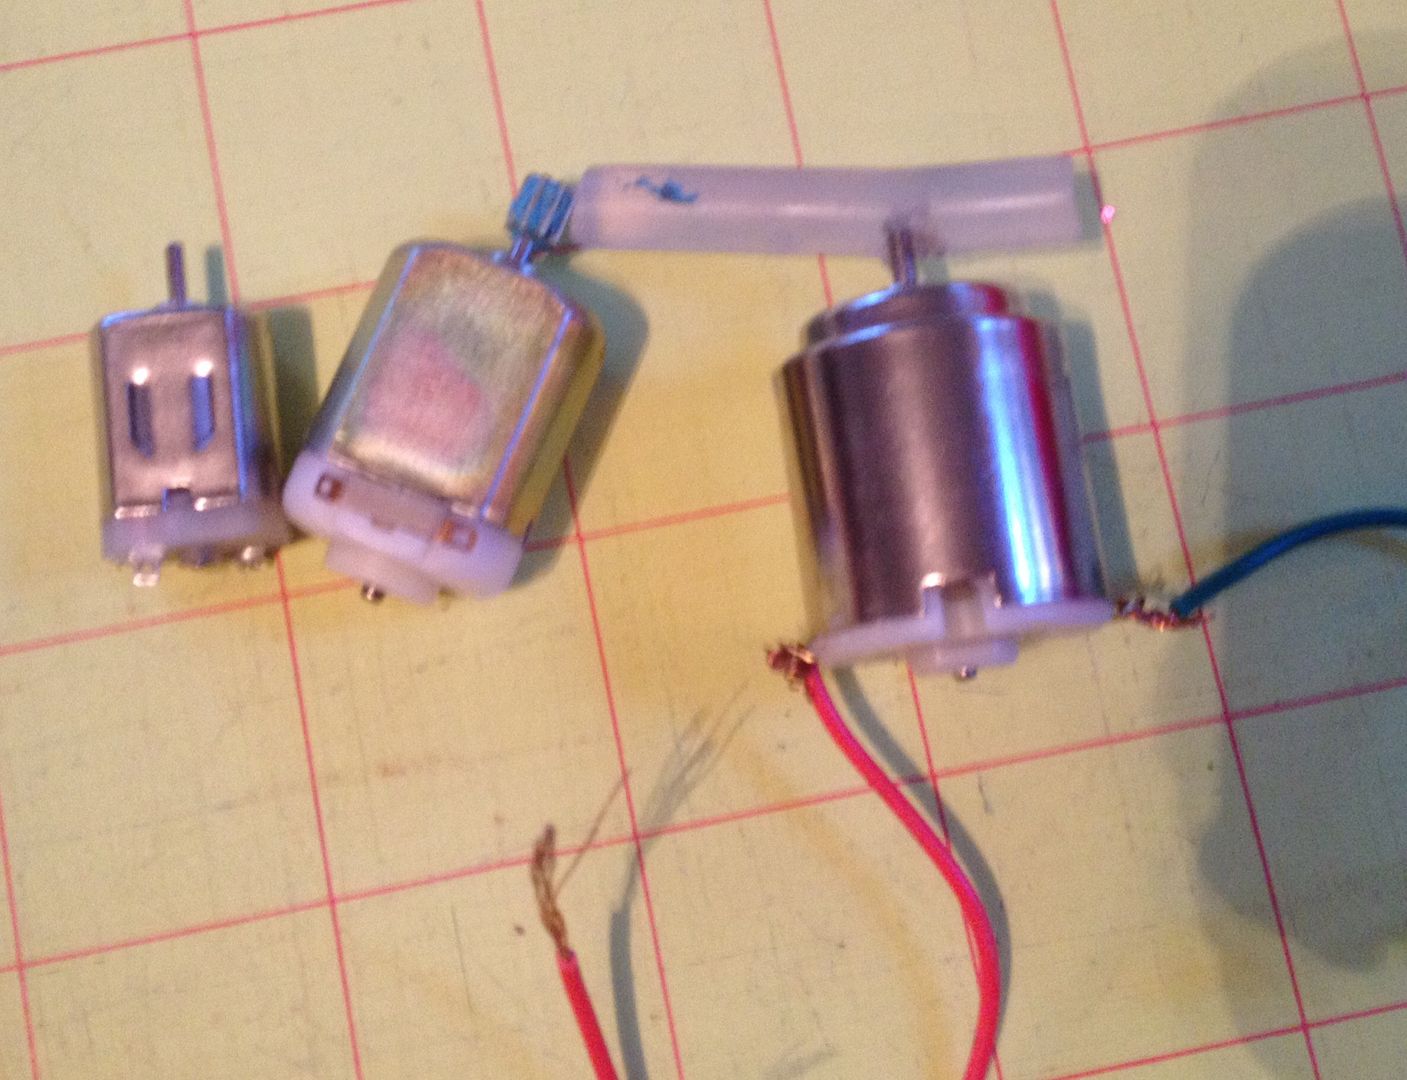
2. Attach a piece of glue stick, wad of tape or clay to the pointy top of the motor..this makes the motor vibrate. ( you can also find vibrating motors at RadioShack).
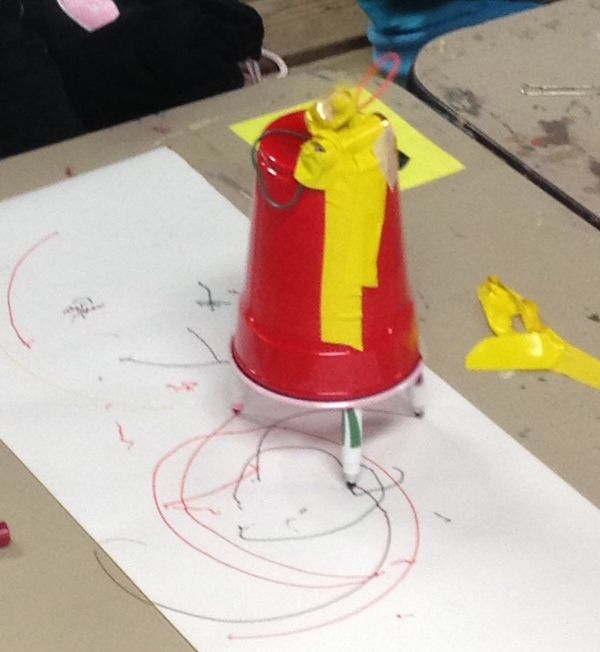
3. Now tape your motor on to your cup - the side or top, or even inside.
4. Tape your battery onto your cup, close to your motor.
5. Attach each wire to one end of the battery. You can attach a paper clip to the wire and use it as a switch to make it easier to turn on and off. leave one wire off of the battery while you put on your markers.
6. Attach 3-4 markers to your cup

7. Attach the one loose wire back to the battery and watch your drawbot go! It might scoot around in circles, or hop a little, it might go in a straight line.. Now have fun with it!

No comments:
Post a Comment