Tuesday, June 24, 2014

STEM: Luminol experiment

This experiment is a fun way to simulate a crime scene where luminol is used to detect blood. An adult will need to help with breaking the glow sticks.

Supplies:
A few large glow sticks
Hydrogen peroxide
Paintbrush or Q-tip
A little bit of ketchup or paint
2 rocks

First, an adult needs to set up the two rocks , one rocks will be painted with ketchup, and one with the  contents of a glow stick. Here's how :

1. Very carefully cut the end of a glow stick off, do not not cut into the inner glass tube.

2. Now carefully slide out the inner glass tube and rinse it off ( the liquid around the tube is hydrogen peroxide)


3. In a small bowl with a lid, carefully break the glass tube by squeezing gently with a pair of pliers. use the lid while breaking the glass to prevent glass from flying everywhere.


4. paint one rock with the glow stick innards.


5. Paint the other rock with some ketchup or craft paint. Now time for some fun with the kids.. 

Add a squirt of Hydrogen peroxide to both rocks. It will fizz a little on each. Now turn off the lights...and the "guilty" rock will glow!

This simulates what happens when Crime scene investigators spray Luminol on an area and The Luminol reacts with the iron in hemoglobin. That chemical reaction gives off excess energy that is given off as a cold light, or Chemiluminescence. In a real crime scene, if investigators find a glow, that tells them they may have blood, and need to do further testing

The reaction that is happening in this experiment is very close. The insides of a glowstick reacts with hydrogen peroxide and gives off energy in the form of light.

This is a very fun demo to do, and produces a pretty spectacular glowing result . Use extra caution when handling the glass tubes, they do break very easily. 


STEM Activity: Drawbots


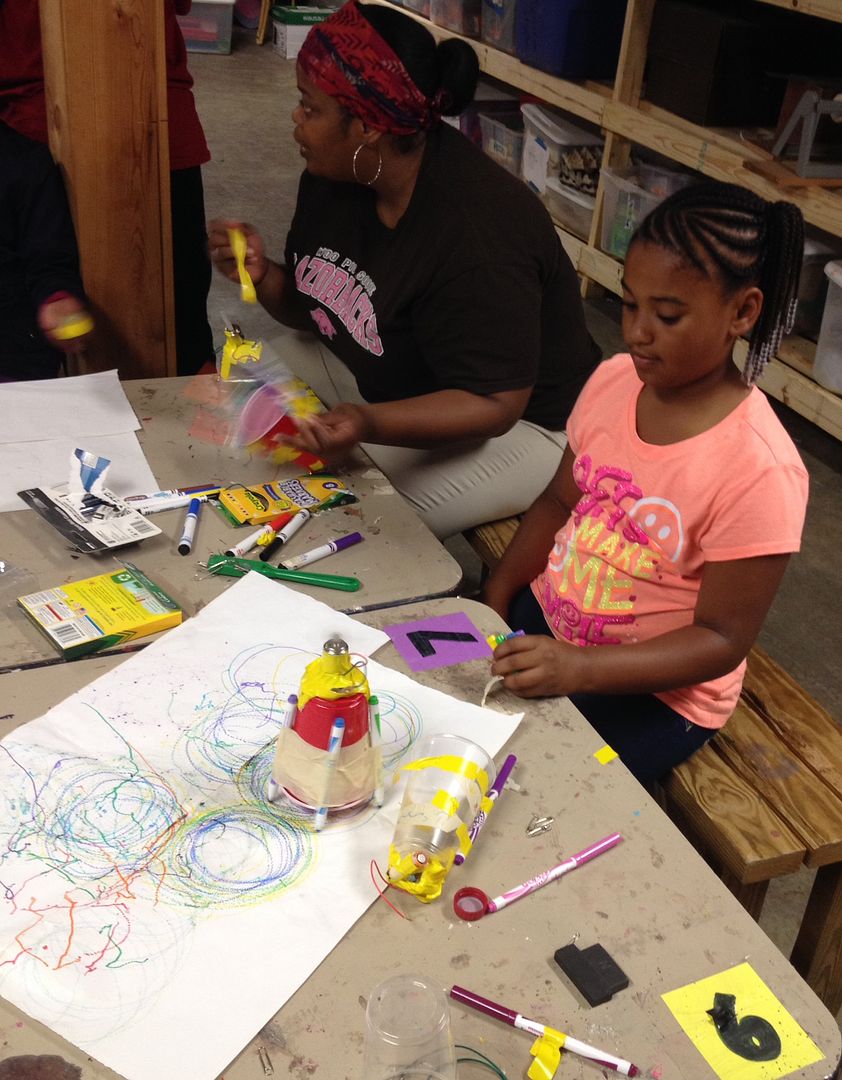
This one is a fun build, and it's so exciting to watch the kids faces when they connect the last wire and make their robot go!
I highly recommend that once you build the robot, roll out some paper on a table, tape it down and just play...Try different sizes of batteries, motors, vary the arrangement of the markers, attach a magnet to your cup and see if you can get your bot to pick up paper clips! There isn't a wrong way to do it, It's important to allow plenty of time after the build to experiment and see what you can make happen.

Supplies needed:
Plastic cups - Solo cups work great
Batteries-  you can use AA, AAA, or a nine volt..
Motor ( radio shack- ask for a 1.5 hobby motor like this one: ( http://www.radioshack.com/product/index.jsp?productId=2102828)
small lengths of wire - it's nice to have have two different colors, but not necessary
electrical tape or duct tape
Colored markers


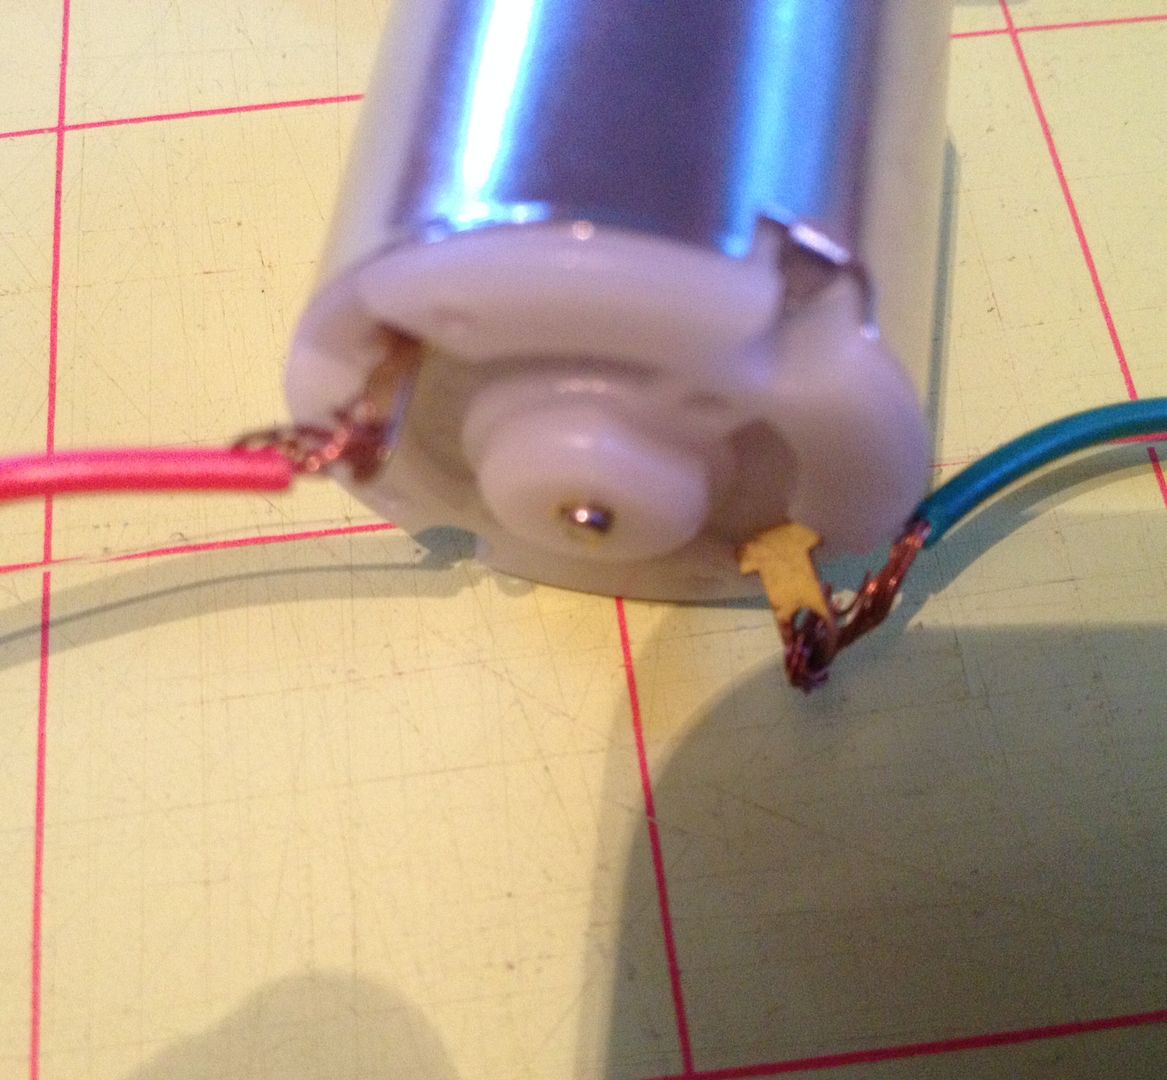
1. Attach a 4" length of wire to your motor. on both contact points, one piece of wire to each contact point.
 photo photo_zps470b1fd4.jpg
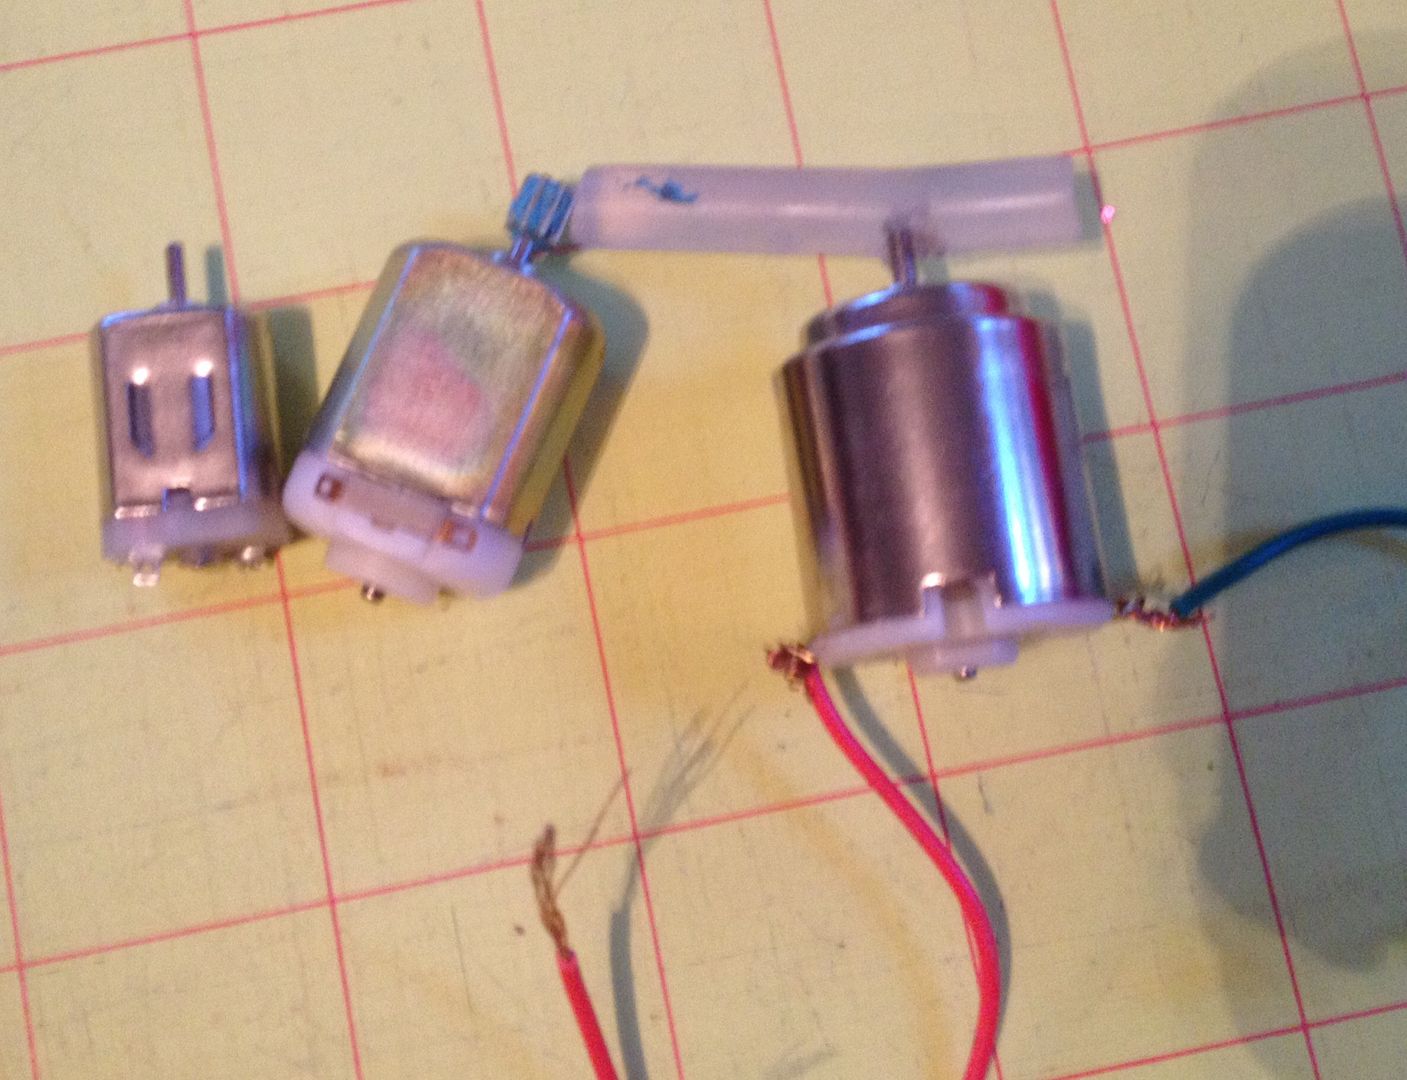
2. Attach a piece of glue stick, wad of tape or clay to the pointy top of the motor..this makes the motor vibrate. ( you can also find vibrating motors at RadioShack).

 photo photo_zpsd0d83809.jpg
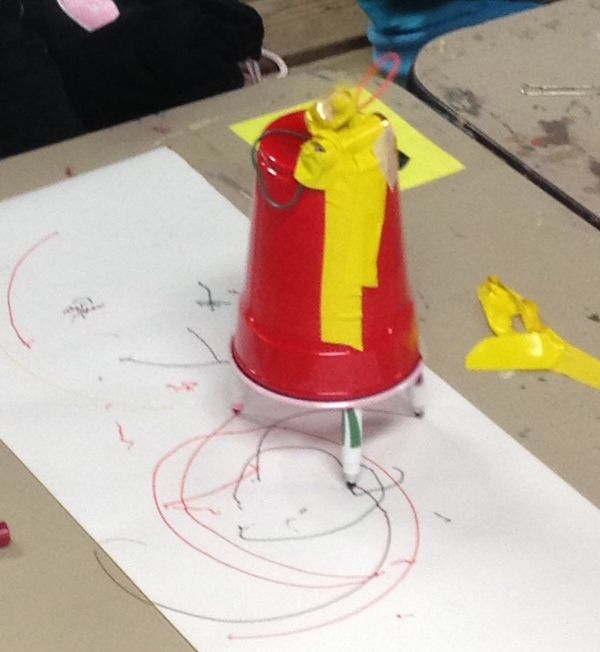
3. Now tape your motor on to your cup - the side or top, or even inside.

4. Tape your battery onto your cup, close to your motor.
 photo photo_zps4e2eed72.jpg
5. Attach each wire to one end of the battery. You can attach a paper clip to the wire and use it as a switch to make it easier to turn on and off. leave one wire off of the battery while you put on your markers.


6. Attach 3-4 markers to your cup

 photo photo_zpse4e94047.jpg

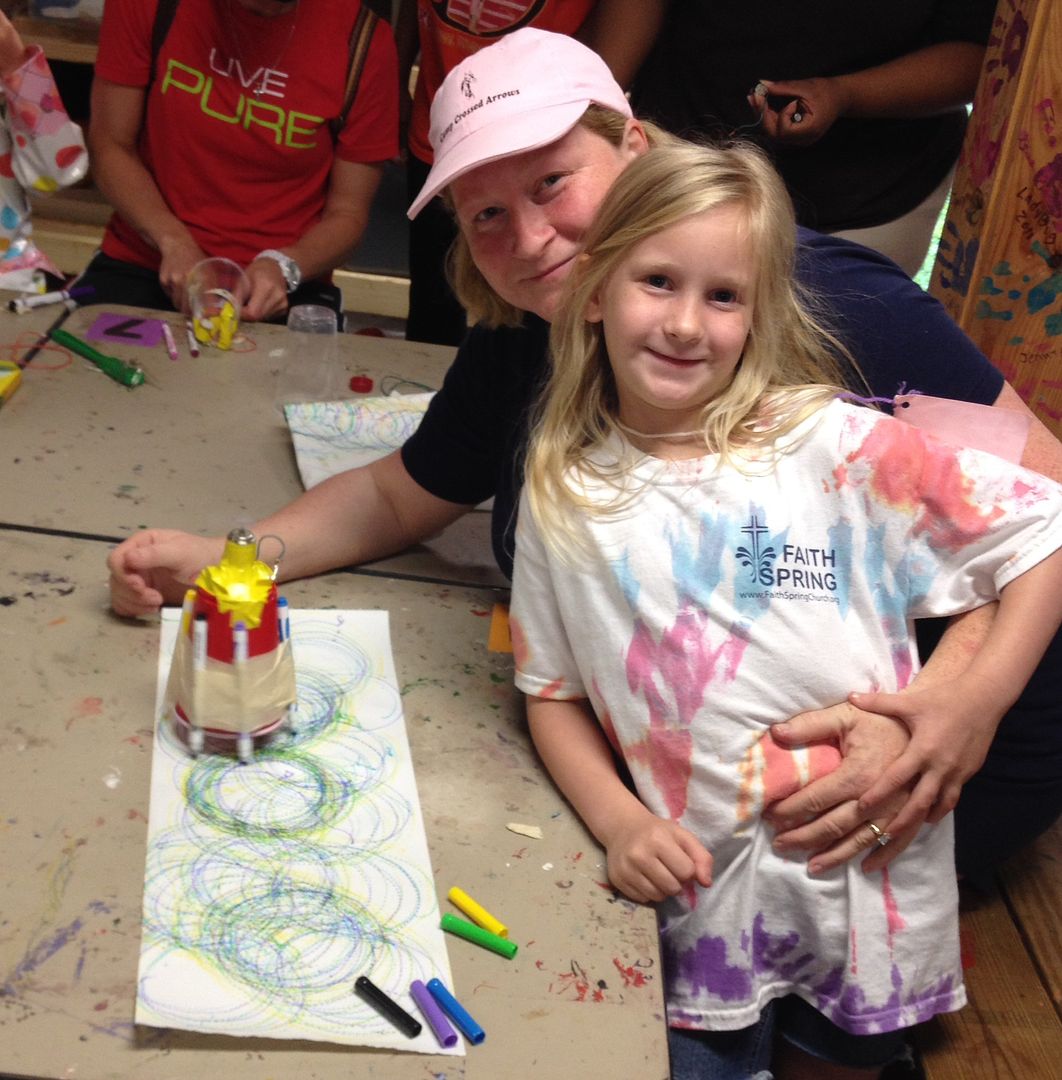
7. Attach the one loose wire back to the battery and watch your drawbot go! It might scoot around in circles, or hop a little, it might go in a straight line.. Now have fun with it!
 photo photo_zps5533b8a3.jpg

Friday, July 05, 2013

Santa Quilt

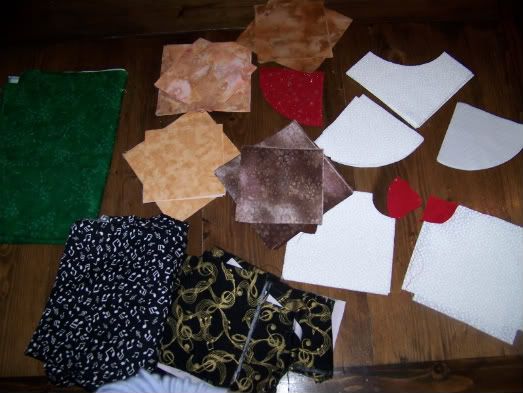
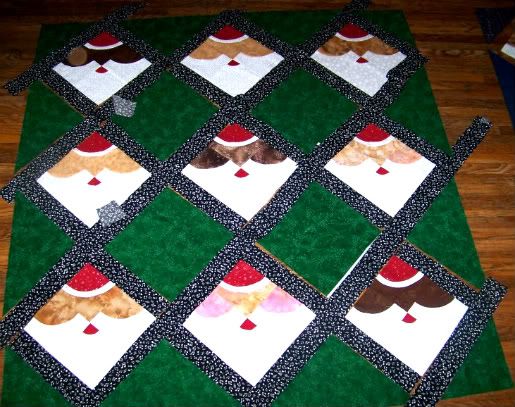
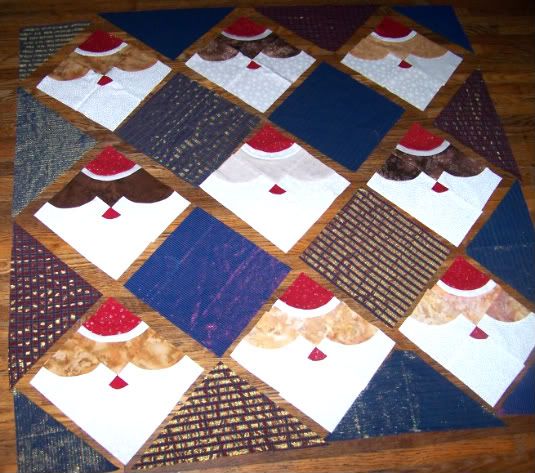
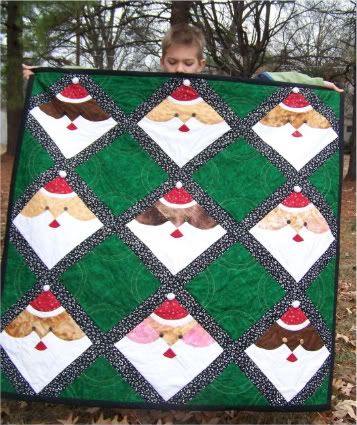
My mom saw this pattern in a quilt shop, and admired it, so of course, I wanted to make one for her for Christmas.. It's called "Nine Nicks" by Qwiltz Patterns.

I started cutting out the pieces and realized I wanted to make two - one for me to keep! The curves were a little tricky, but after watching  a few times, I got the hang of it. That was a really helpful youtube BTW.

lasob small

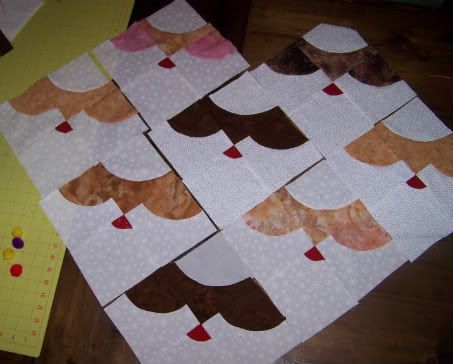
 I wanted to make the Santas of different colors, since we have varying colors of Santas in our family..
Photobucket

I used the traditional reds and greens for my Mom's quilt, and choose some snazzy, glittery blues for mine.

Photobucket

Photobucket

Here's mom's quilt all finished ( and I did get it done in time for her to hang before her Christmas Party!)

Photobucket

Mine is still waiting to be completely put together.. I don't think of it as late, just extra early for next Christmas.

Tuesday, January 18, 2011

Recycled fabric: Dog bed

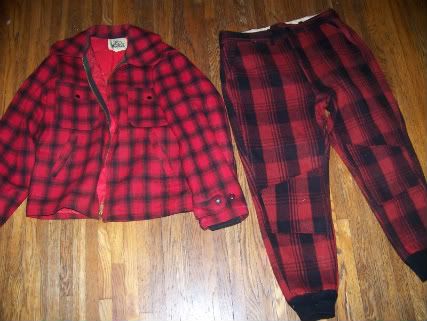
I've been madly cleaning out boxes and closets lately.  I came across this stashed in a box in a closet- My father in Law's old hunting outfit. It's heavy, made of thick wool, and The fabric was in great shape.

Photobucket

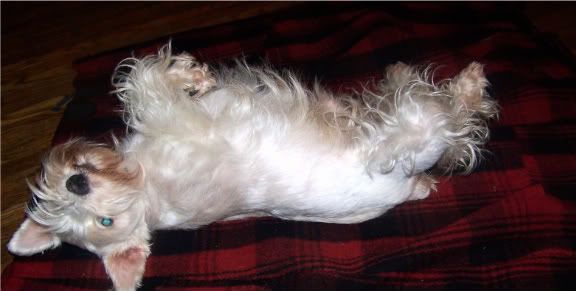
I just can't see my husband ever wearing red pants for any occasion, so it was either toss it or recycle it..And then the dog curled up on it and I had a bright idea.


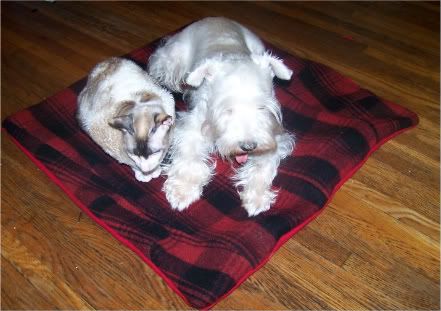
Our floor get a little cool during the winter, so I thought I'd cut up the pants and make a nice doggie bed for Shnicklefritz to sit on when I'm at the computer. The dog loved the idea, he seemed to understand that it was for him, and he helped me figure out exactly what size to make it.

Photobucket


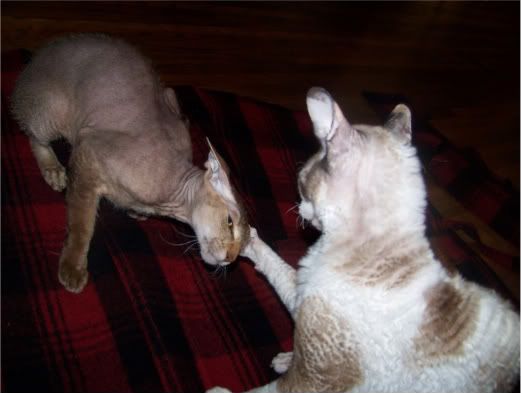
I was getting pretty good at working around the dog, when the cats decided to see what all the fuss was about. They chased the dog off his spot and fought over it themselves.
Recycle dog bed

 It is hard to measure things in the middle of a catfight, so I just made a video instead and called it entertainment. During the cat fight I decided to use an old wool skirt for the back of it..And even made use of the zipper in the skirt to leave an opening for removing or adding stuffing.

I finally did get the bed done, the animals settled on who got to sit on it, and  I remembered why I usually put the critters in the bedroom when I work on sewing projects.

Recycle dog bed

Sunday, September 05, 2010

Kaleidoscope Quilt

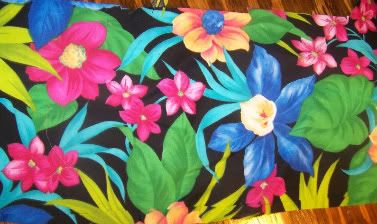
Or Stack n Whack, One Block Wonder. I've seen a few names for this sort of quilt. You start with a loud patterned fabric  with repeats every 23 inches or so.
Photobucket
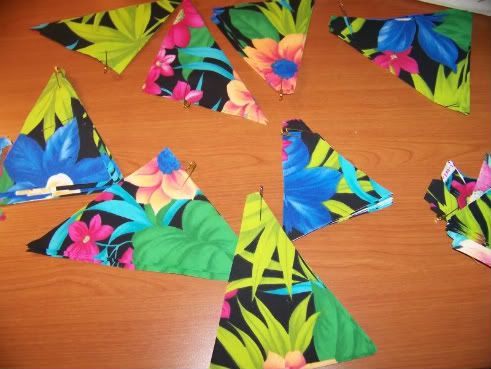
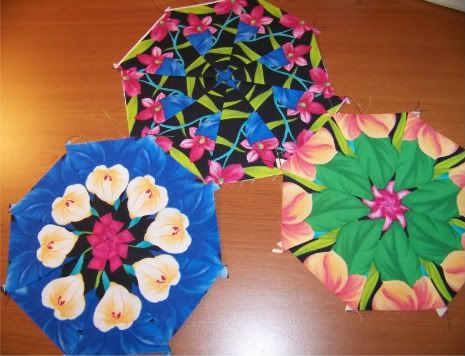
You make cuts of the fabric, stack up the sections, and cut out 8  identical triangles.

Photobucket

Then you sew  the triangles together and watch all the different patterns pop out like magic:

Photobucket

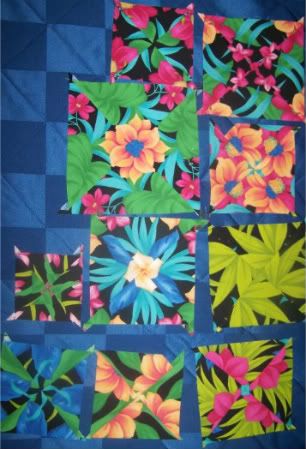
I tried making some 4 triangle squares, just to see what it would look like:

Photobucket


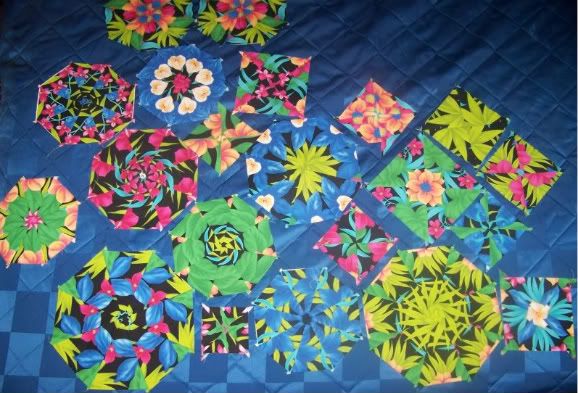
and here's all the blocks I made from that one piece of fabric:

Photobucket

Yo-Yo maker

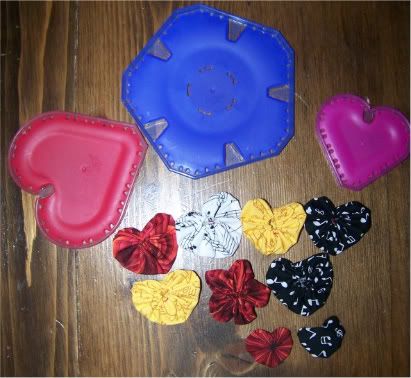
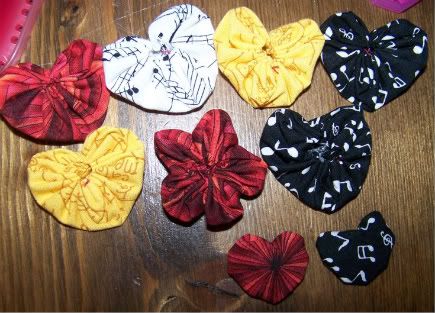
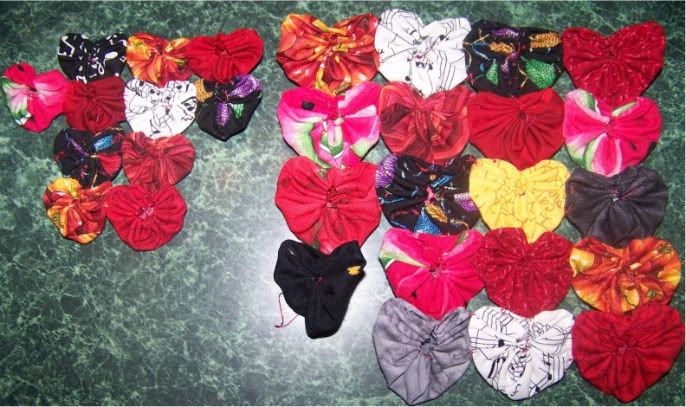
being the complete sucker for gadgets that I am, I could not resist picking up a few of these little darlings...Yo yo makers..Not just round ones, like my great grandmothers made, but cute little heart and flower ones, and in two sizes:

yoyo maker

Is that adorable or what? I rooted out a pile of tiny scraps from my fabric stash and took it all with me on a car trip.

yoyos

I started putting them together And I think it might be a cute little wallhanging
or maybe a little dolly quilt:
Photobucket

My favorite piece of fabric:
Photobucket

Sunday, April 18, 2010

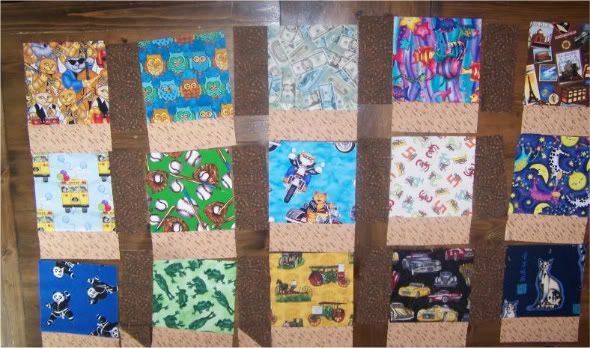
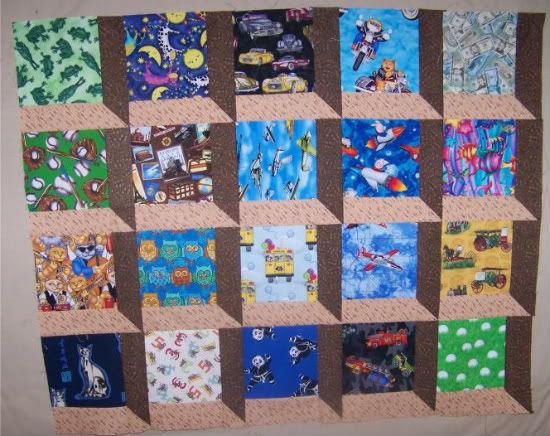
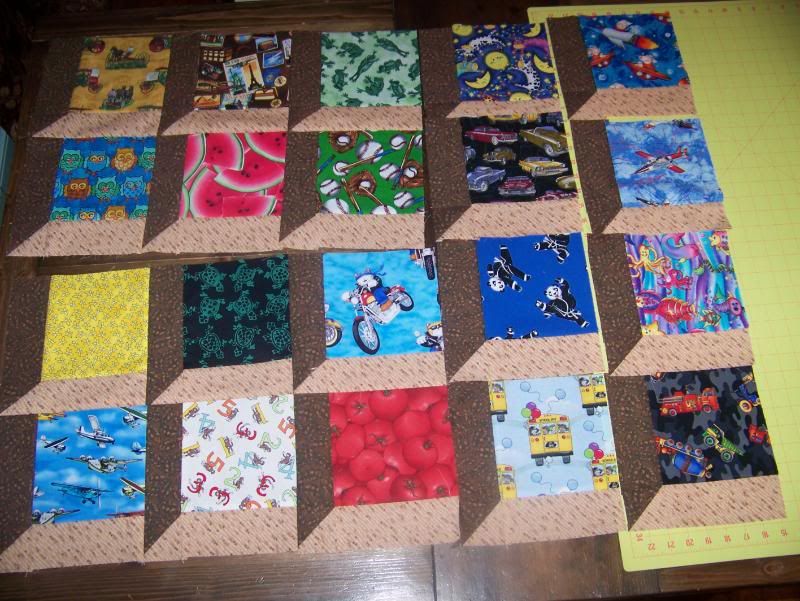
Attic Window I Spy Quilt

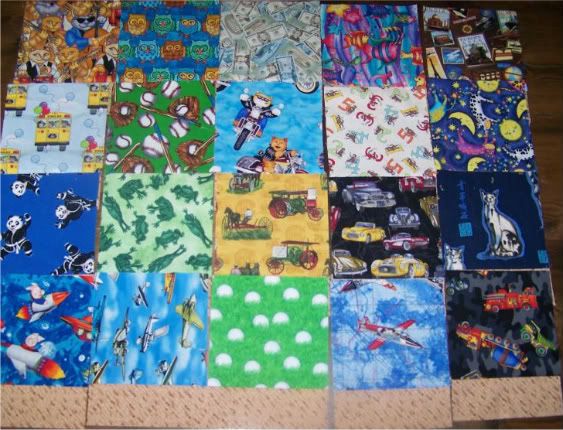
Ah Spring! Lots of Babies coming - to friends, not to me :) and incoming babies mean lots of quilts to make! Here's 2 I have in progress..

I started with some bright colorful fat quarters of novelty fabric, cut them into squares:
Photobucket

then added the sashing:
Photobucket

I used a slick new trick for making half square triangles.. I'll show that in a separate post. The half square triangle is what make the optical illusion work on the Attic window quilt. here's Quilt 1 all pieced together:

Photobucket

And Quilt 2 almost all pieced together..
Optical illusion 12


Now to add borders, Backing and quilt them!

Monday, February 01, 2010

Fleece coat ...for my dog

This wasn't too hard at all.  Of course, I had to add some dreads to it, so he wouldn't feel left out. The weird thing is I think Schnicklefritz really likes his coat. I put it on him a few times to adjust the fit, and when I had it finished, he happily stuck his nose in it and pranced around.


It is a rare sight to see snow here in Arkansas ...

Saturday, January 30, 2010

Rasta Fleece Hat


And one more hat.. A rasta dread hat.  My husband wanted it.. i'm not sure why, but he's cute, so I made him one.


I have  some fleece scraps left over, and I hate to throw them out, but it isn't enough to do much with. so I think the dog is getting a fleece coat. Maybe the cats will too.