Tuesday, June 24, 2014

STEM: Luminol experiment

This experiment is a fun way to simulate a crime scene where luminol is used to detect blood. An adult will need to help with breaking the glow sticks.

Supplies:
A few large glow sticks
Hydrogen peroxide
Paintbrush or Q-tip
A little bit of ketchup or paint
2 rocks

First, an adult needs to set up the two rocks , one rocks will be painted with ketchup, and one with the  contents of a glow stick. Here's how :

1. Very carefully cut the end of a glow stick off, do not not cut into the inner glass tube.

2. Now carefully slide out the inner glass tube and rinse it off ( the liquid around the tube is hydrogen peroxide)


3. In a small bowl with a lid, carefully break the glass tube by squeezing gently with a pair of pliers. use the lid while breaking the glass to prevent glass from flying everywhere.


4. paint one rock with the glow stick innards.


5. Paint the other rock with some ketchup or craft paint. Now time for some fun with the kids.. 

Add a squirt of Hydrogen peroxide to both rocks. It will fizz a little on each. Now turn off the lights...and the "guilty" rock will glow!

This simulates what happens when Crime scene investigators spray Luminol on an area and The Luminol reacts with the iron in hemoglobin. That chemical reaction gives off excess energy that is given off as a cold light, or Chemiluminescence. In a real crime scene, if investigators find a glow, that tells them they may have blood, and need to do further testing

The reaction that is happening in this experiment is very close. The insides of a glowstick reacts with hydrogen peroxide and gives off energy in the form of light.

This is a very fun demo to do, and produces a pretty spectacular glowing result . Use extra caution when handling the glass tubes, they do break very easily. 


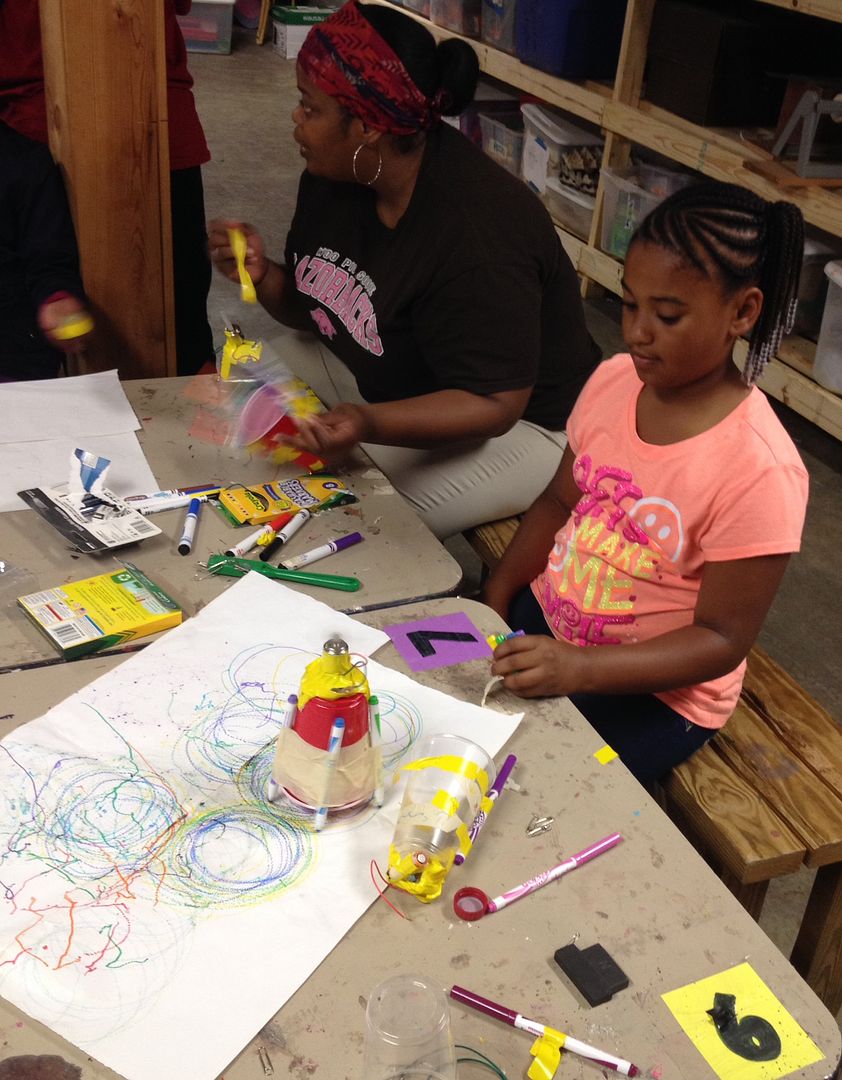
STEM Activity: Drawbots


This one is a fun build, and it's so exciting to watch the kids faces when they connect the last wire and make their robot go!
I highly recommend that once you build the robot, roll out some paper on a table, tape it down and just play...Try different sizes of batteries, motors, vary the arrangement of the markers, attach a magnet to your cup and see if you can get your bot to pick up paper clips! There isn't a wrong way to do it, It's important to allow plenty of time after the build to experiment and see what you can make happen.

Supplies needed:
Plastic cups - Solo cups work great
Batteries-  you can use AA, AAA, or a nine volt..
Motor ( radio shack- ask for a 1.5 hobby motor like this one: ( http://www.radioshack.com/product/index.jsp?productId=2102828)
small lengths of wire - it's nice to have have two different colors, but not necessary
electrical tape or duct tape
Colored markers


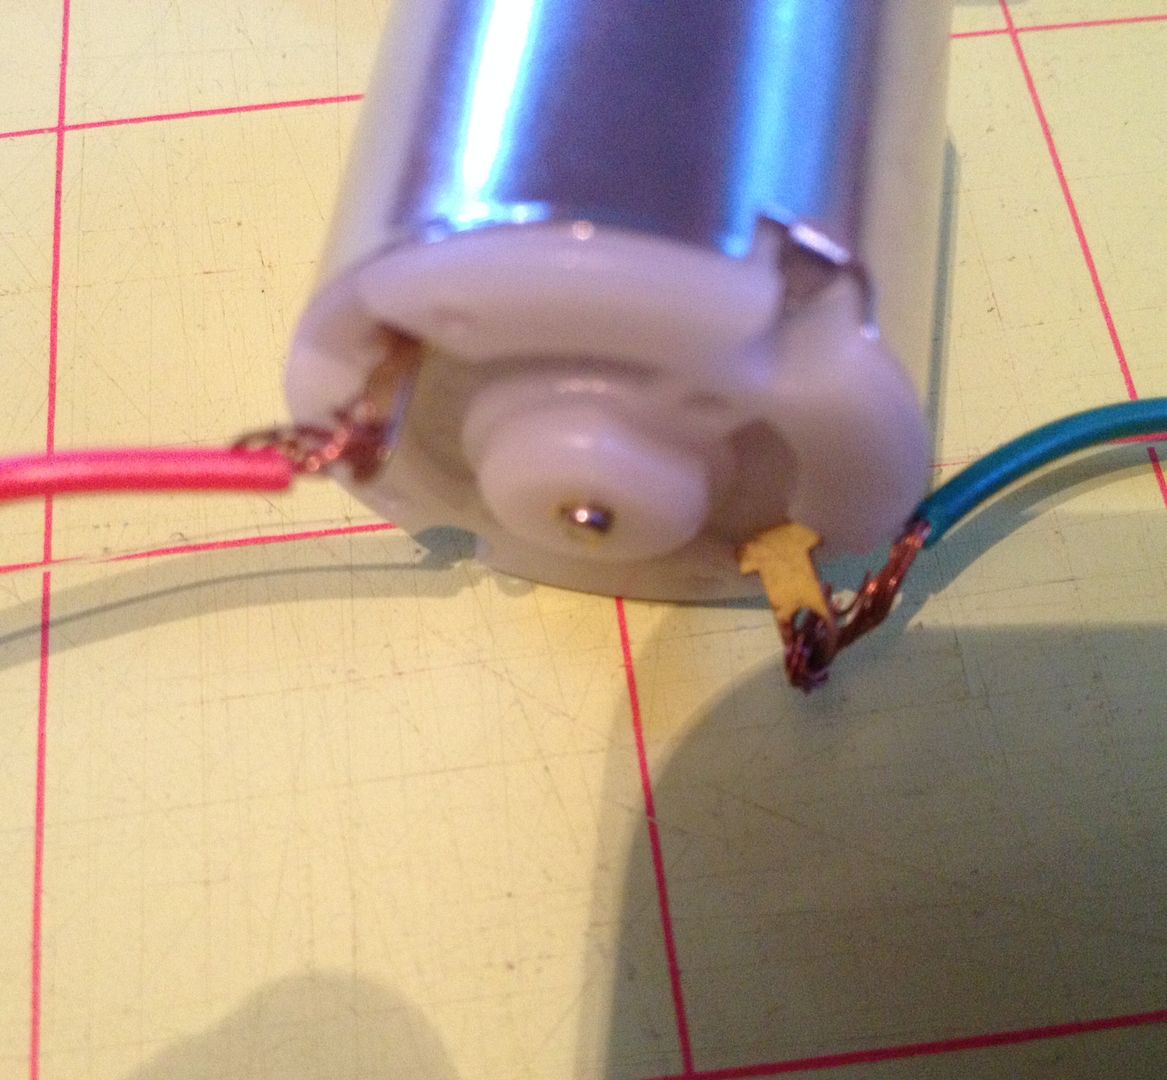
1. Attach a 4" length of wire to your motor. on both contact points, one piece of wire to each contact point.
 photo photo_zps470b1fd4.jpg
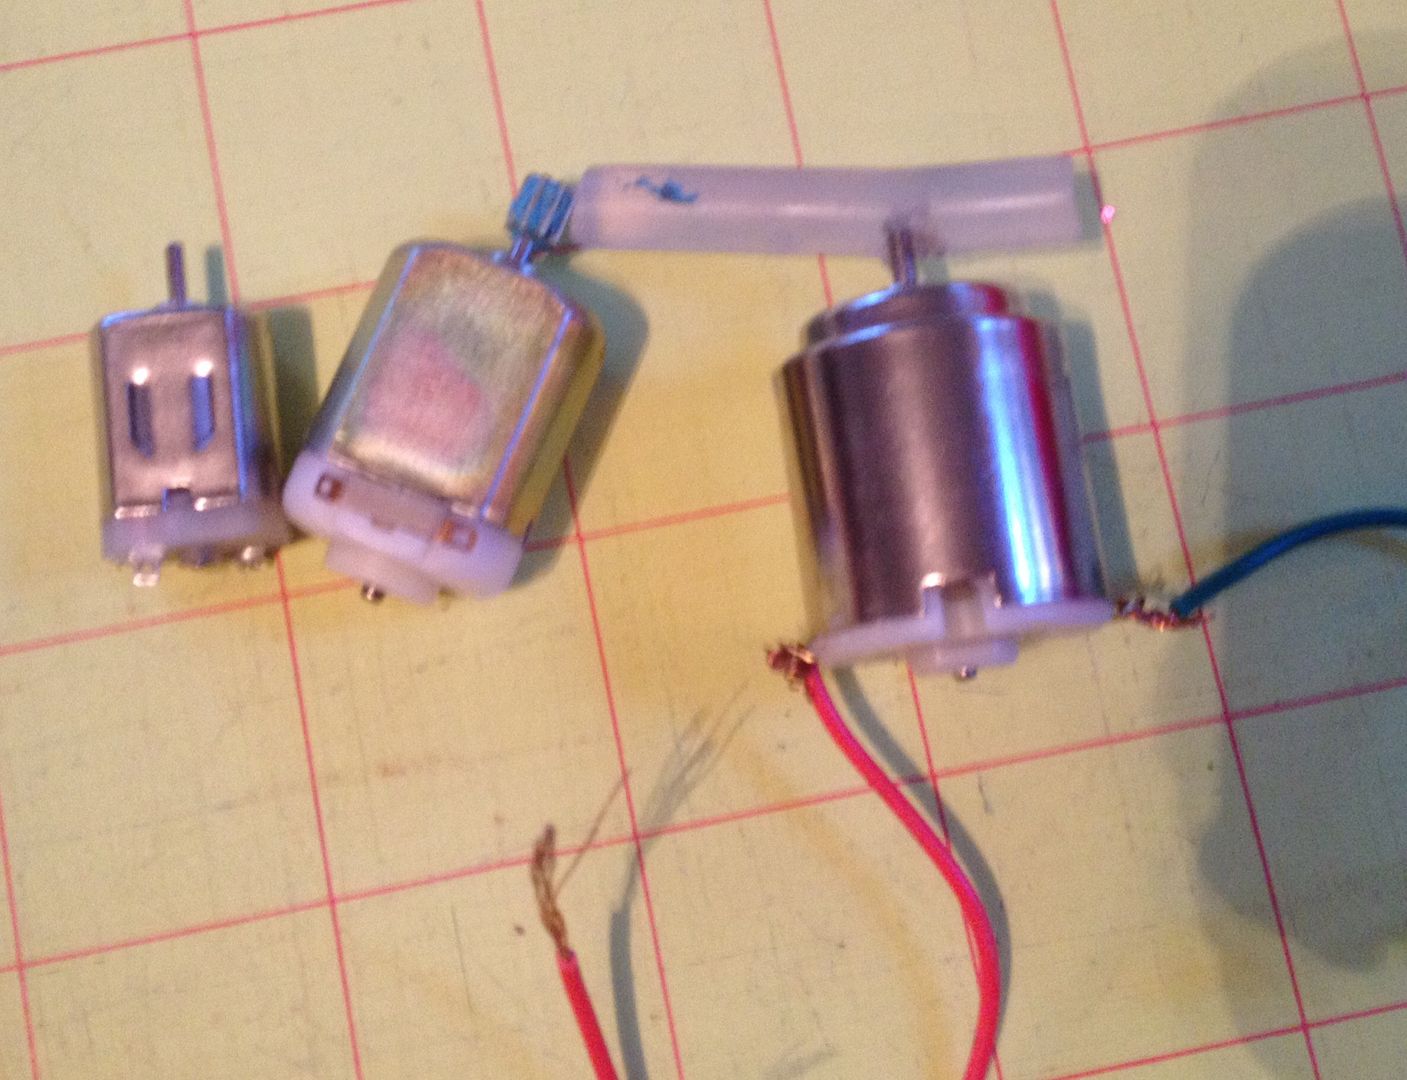
2. Attach a piece of glue stick, wad of tape or clay to the pointy top of the motor..this makes the motor vibrate. ( you can also find vibrating motors at RadioShack).

 photo photo_zpsd0d83809.jpg
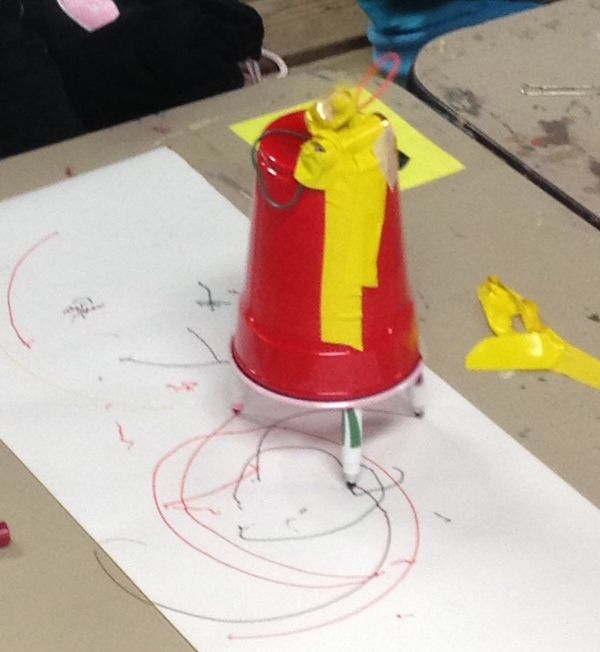
3. Now tape your motor on to your cup - the side or top, or even inside.

4. Tape your battery onto your cup, close to your motor.
 photo photo_zps4e2eed72.jpg
5. Attach each wire to one end of the battery. You can attach a paper clip to the wire and use it as a switch to make it easier to turn on and off. leave one wire off of the battery while you put on your markers.


6. Attach 3-4 markers to your cup

 photo photo_zpse4e94047.jpg

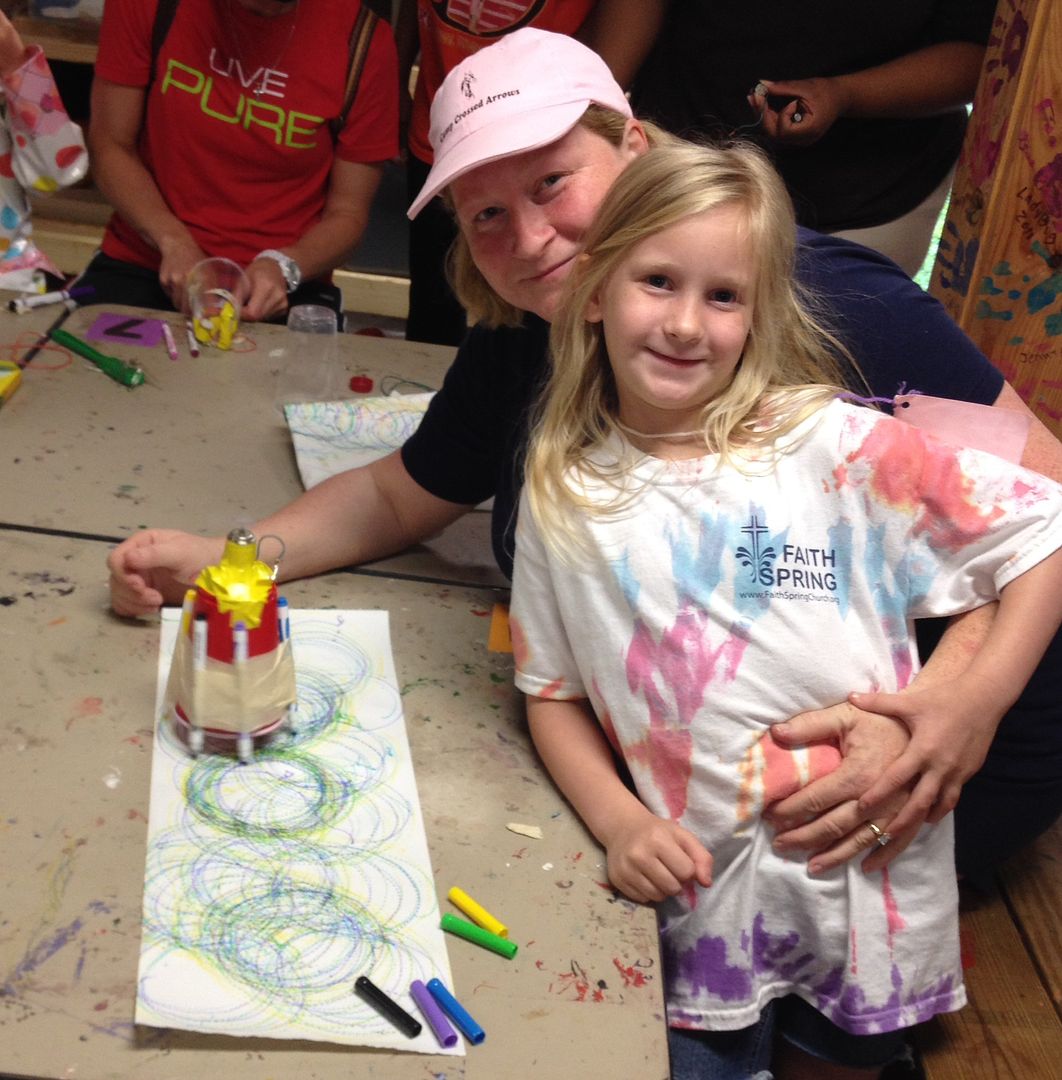
7. Attach the one loose wire back to the battery and watch your drawbot go! It might scoot around in circles, or hop a little, it might go in a straight line.. Now have fun with it!
 photo photo_zps5533b8a3.jpg