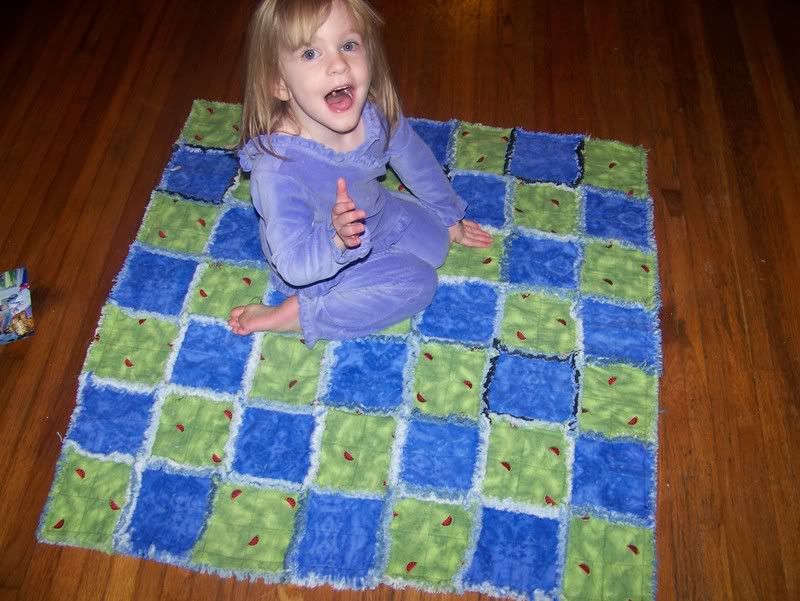
First decide how big you want your quilt. A nice kid size is is 35" square. For that you would want 5" finished squares. For a larger 64" square quilt you can use larger 8 " finished squares. Keep the math clean. This is not the time to fool around with decimals.
Graph paper is a good way to lay out color if you want a pattern. Denim and flannel work well for a raggy edge.
Cut flannel or denim into squares one inch bigger than you want the finished size to be. If you want 5 squares in your quilt, cut 6 inch squares.
If you have decided on 5" finished squares, cut 5" squares of batting. You want the batting 1" smaller than the size of the squares you cut, so you won't have batting sticking out of the fringed edges. This is a good time to use up scraps of batting from other projects. It would be fine to mix different colors or kinds of batting for this.
Now make sandwiches. Two squares of flannel, right sides out with a square of batting in between.
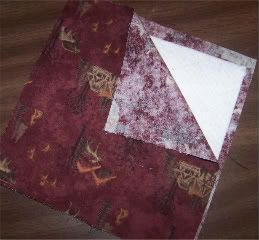
Now sew straight or curvy lines , or spirals onto each square. That is all the quilting you will do. You quilt it before you sew it together.
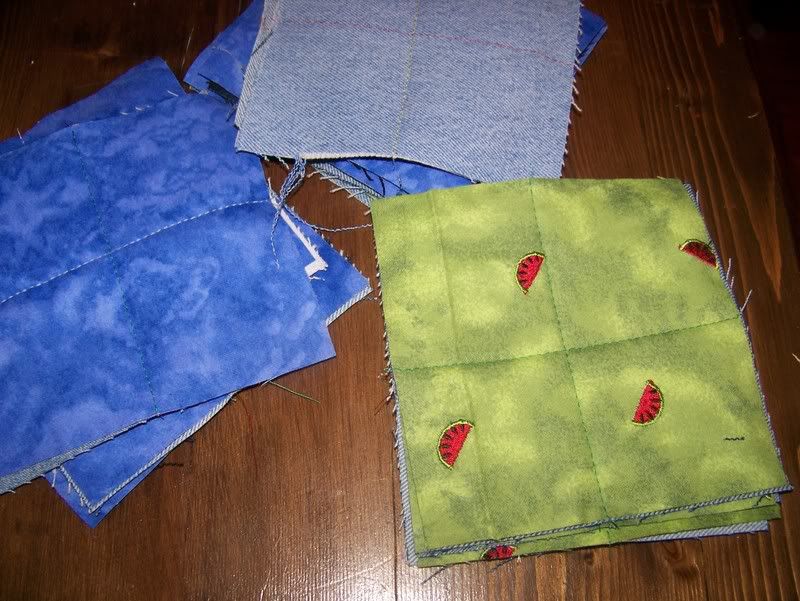
Sew squares together into rows. Use a 1/2 " seam to sew squares and rows together. For a larger quilt it may be easier to sew the rows into blocks, and then sew the blocks together:

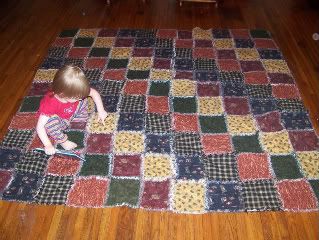
Once your quilt is assembled - and it will surprise you how quickly it goes - Sew about 1/2 " around the outside of the quilt, to keep the edges from unraveling. Now it's time to clip it. Use a sharp pair of scissors and make little snips along all the edges of the squares, and all along the sides. This will make a huge mess.
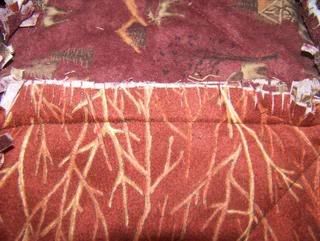
the clipping takes the longest on this quilt. Plan to watch a movie or two while you clip edges. Once you have the edges all clipped, take the quilt outside, and shake the bejeezus out of it. This should get a lot of the little loose thread out, and start the nice raggy edge.
Toss it in the dryer for a cycle, and then clean the lint trap of your dryer. Really, it's a LOT of lint Then throw it in the wash, and dry again.
Now enjoy. Use it for picnics, playing on the floor. This isn't a quilt to store away. The more it's used and washed, the nicer the flannel feels, and the edges look.

OMG- I am loving your blog! You make me wish I was crafty.(.. and almost feel like I could be if I kept reading).
ReplyDeleteCUTE quilts, even cuter quilt model :)
I've never even heard of a raggy quilt. But if I ever get brave enough to quilt (I'm working on learning how to use the sewing machine at the moment) I think I'm totally going to start with this.
ReplyDeleteGreat tutorial!
OMG IM GONNA DO IT AND YOU CANT STOP MEE!!!!!
ReplyDeleteI want to do one now too..
ReplyDelete